Custom Group Messaging
You have the option of sending group messages to group of contacts of your choosing.
Please note that if you are trying to send a text message to your event guests, you do not need to follow these steps below, as you will be able to send your message directly from within your Event Dashboard->Guest Messaging section.
Create New Group
- To start sending group messages you would first need to click on Contacts->Contacts & Donor Management as shown below.

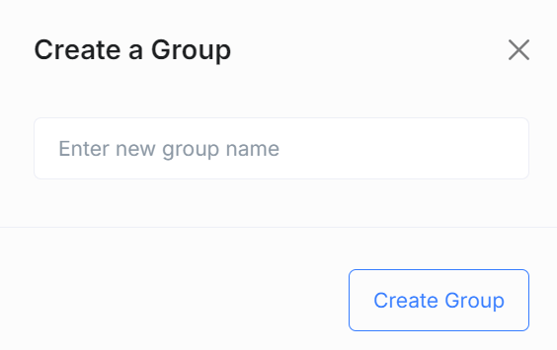
- To create a new group, click on Actions then select Create New Group.

- Enter in a group name of your choosing and click Create Group.

Add Contacts to a Group
- In your Contact list you can add contacts by checking the box of the contacts you want in the group as shown below.
- Then click Actions->Add Contacts to Group.

- Select the group that you want from the drop down list and select Add Only Selected Contacts and click Add to Group as shown below.

- You can also choose your contacts by doing advanced search on the particular contacts that you want.

- Then you would go to add contacts to a group again but this time choose Add All Contacts in Search Results and click Add to Group instead.

Group Text
- Once you have added your contacts by using either method, click on Contacts -> Messaging as shown below.

- Select Send Group Text

- In the pop up window shown below, enter in the Job Name for easy reference, select the group you want to send the message to, select send to a contact group and enter in the message and click Send Text.

- Once you click Send text, the confirmation window below will show. Check over the details and click Confirm Send.

- Once you confirm, below window will show the status of your message.

Manage Groups
- After you have created groups and added contacts, you can at any time go to Manage Groups to see the groups you have created and make any changes.

- In the Manage Groups page, next to your group you have three options:
- See contacts in the group
- Edit Group
- Delete Group

- In your Manage Groups page, click on the List Icon to view all the contacts in the group.

- Once you click the list icon, the pop up window will list all the contacts in that group and you can choose to either look at the contact record for each or delete the contact from the group.

- To Edit your Group click on the pen icon as shown below.

- On this window you can update the group name and press Save.

Need Additional Help?
We're here to assist you in any way we can. Don't hesitate to reach out to support@betterunite.com
Let's go do some good.
-1.png?width=240&height=100&name=Heading%20(2)-1.png)